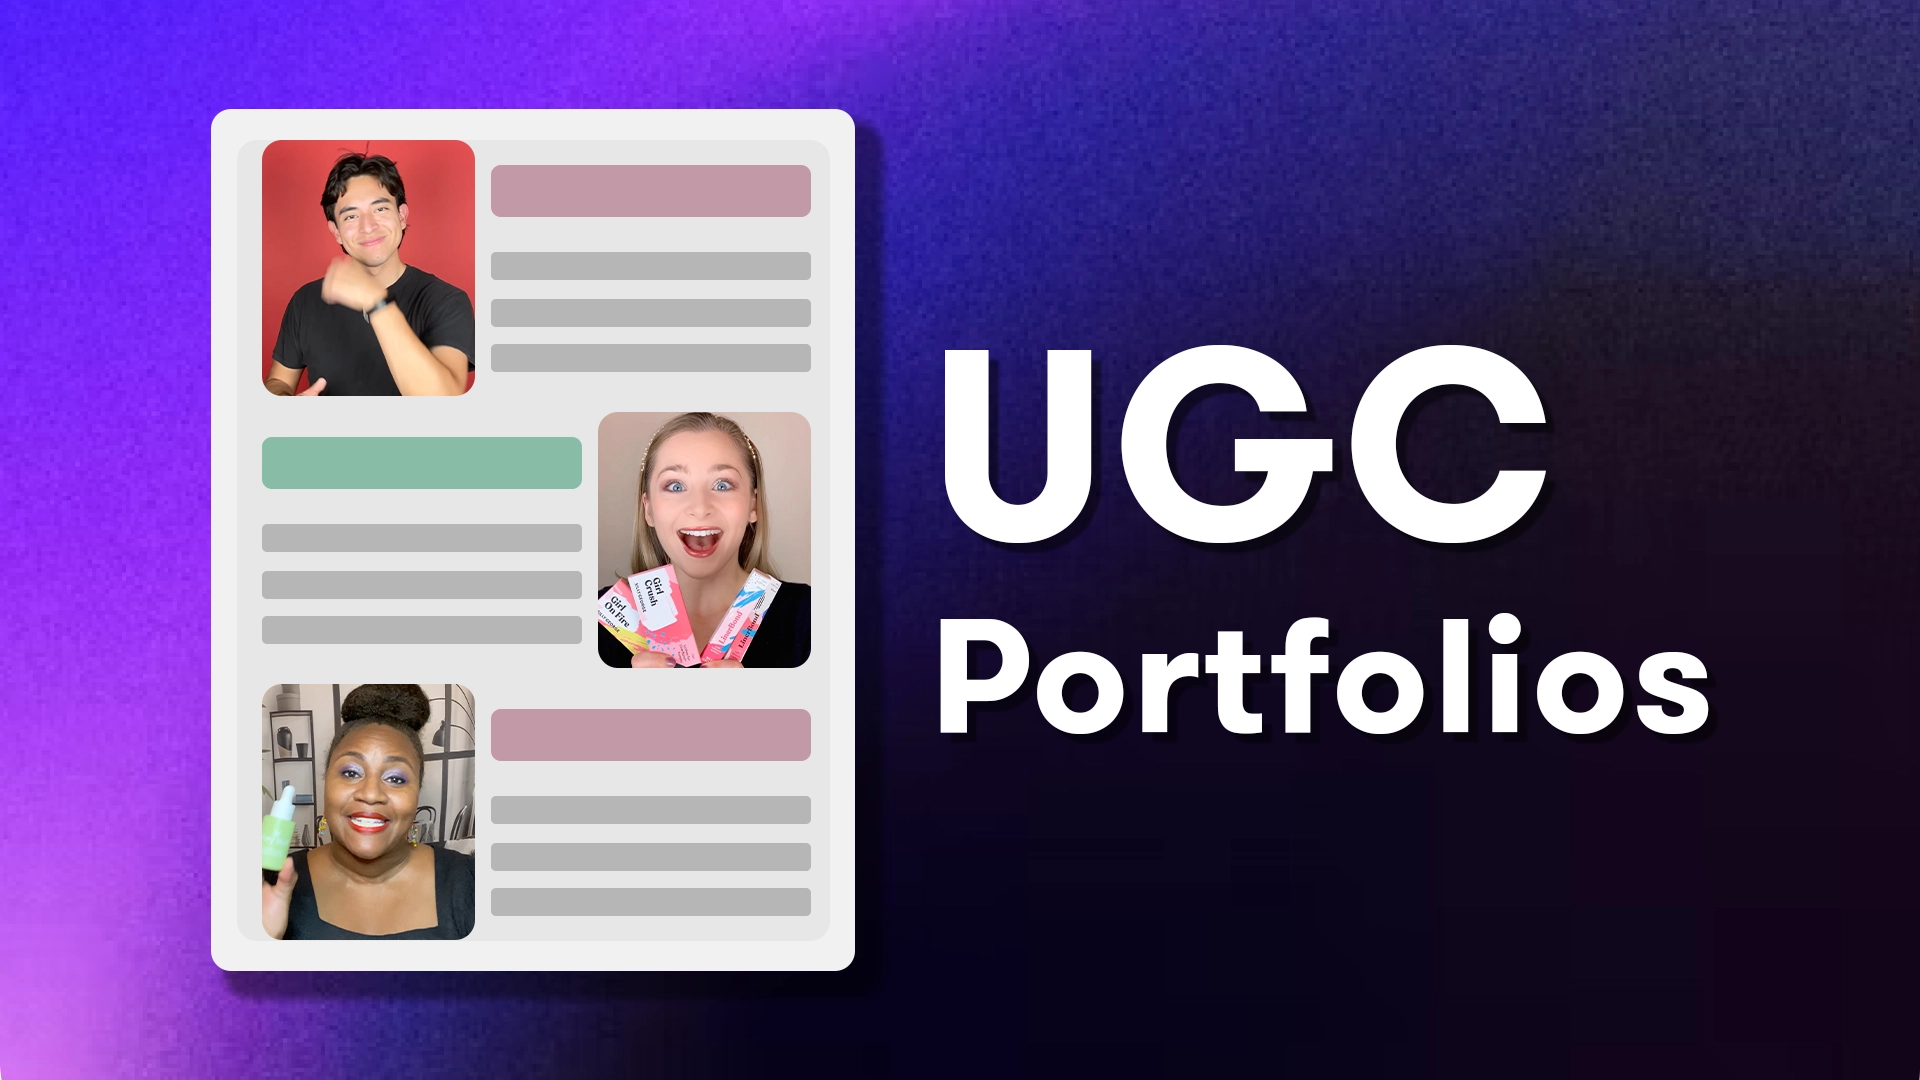
In the world of UGC creation, your portfolio isn’t just a collection of work—it’s your primary business card, your most powerful sales tool, and the key to unlocking paid collaborations. For beginners, the biggest hurdle is the classic catch-22: you need a portfolio to get jobs, but you need jobs to build a portfolio. This guide breaks that cycle. We’ll provide a complete, step-by-step blueprint to create a professional UGC portfolio from scratch, featuring the exact types of videos brands want to see, complete with shoot scripts and technical breakdowns.
Why Your Portfolio is Your #1 Asset (And What Brands Really Look For)
Before you film a single clip, understand the psychology of a brand manager reviewing portfolios. They aren’t just judging your smile; they are conducting a low-risk audition. They need to answer three questions quickly:
- Can this creator present my product naturally and persuasively?
- Do they have basic technical competence (good lighting, clear audio, stable shots)?
- Is their aesthetic and energy a potential fit for our brand?
Your portfolio’s job is to scream “YES” to all three. It proves you can solve their problem—the need for authentic, high-converting content—before they even send you a brief.
Phase 1: The Pre-Production Blueprint
Step 1: Choose Your 3 “Hero” Products
Select products you already own, use, and genuinely love. Authenticity is magnetic. Choose items that fit a clear niche (e.g., a ceramic coffee mug, a vitamin C serum, a compact Bluetooth speaker). This shows brands you understand a specific market.
Step 2: Define Your “Creator Profile”
Write a one-sentence descriptor for your portfolio persona. Are you the “Busy Urban Professional,” the “Wellness Enthusiast,” or the “Tech-Savvy Homebody”? This focuses your content and helps brands visualize you for their campaigns.
Step 3: Assemble Your Minimalist Kit
You don’t need a studio. Essentials include:
- Smartphone & Tripod: For stable, hands-free shots.
- Main Light Source: A window or a ring light.
- Audio: Your phone’s built-in mic is okay in a quiet room, but a $20 lavalier mic drastically improves quality.
- Clean Background: A tidy kitchen counter, a plain wall, or a neatly made bed.
Phase 2: Filming Your 3 Essential Portfolio Samples (With Scripts)
These three video types cover 90% of what brands request. Create one for each of your “hero” products.
Sample 1: The “Problem-Agitate-Solve” Product-in-Use Video
This is the bread and butter of UGC. You demonstrate a product solving a real-life problem.
- Concept: Show the frustration of the problem, then the relief and joy of the solution.
- Shoot Script:
- Hook (0-3 sec): Start with a frustrated expression. “Ugh, my skin feels so dull and dry lately.”
- Agitate & Introduce (3-10 sec): “I need something that hydrates without feeling heavy…” Pick up the product naturally. “Okay, trying this [Product Name] serum everyone’s talking about.”
- Solve & Show (10-25 sec): Apply the product. Show a close-up. “Wow, it absorbs so quickly and feels incredibly lightweight.” Give a genuine smile to the camera.
- End Frame (25-30 sec): Text overlay: “Game-changing hydration.” | Your happy, final look.
- Technical Notes: Use a medium shot for the intro, a close-up for the application, and a final medium shot. Ensure the product label is visible.
Sample 2: The “Authentic First Impression” Unboxing Video
This showcases your ability to generate genuine excitement and highlight key features.
- Concept: Capture the raw, positive reaction to receiving and exploring a new product.
- Shoot Script:
- Hook (0-3 sec): “It’s here! I’ve been waiting to try this!” (Excited look at the package).
- Unbox & Discover (3-20 sec): Open the box slowly. Highlight packaging. “Look how cute this is!” Remove the product. “Whoa, it’s much more compact than I expected. This will be perfect for travel.”
- Feature Focus (20-28 sec): Point to a specific feature. “I love that it has this USB-C port right here—so convenient.”
- Closing (28-30 sec): Look at the camera with a smile. “Can’t wait to use this all week!”
- Technical Notes: Shoot from a first-person POV or a static side angle. Good lighting is critical to see details. Keep the audio crisp to capture your natural reactions.
Sample 3: The “Relatable Review” Testimonial Video
This builds trust by showing you as a real, satisfied user who can articulate benefits.
- Concept: A direct-to-camera endorsement that feels like a recommendation to a friend.
- Shoot Script:
- Hook (0-5 sec): “I’ve been using the [Product Name] for two weeks now, and I have to tell you about it.”
- Benefit 1 (5-15 sec): “First off, the battery life is insane. I’ve only charged it once since I got it.”
- Benefit 2 (15-22 sec): “It’s also super easy to clean, which for me is a huge deal.”
- Honest Nuance (22-27 sec): “The only tiny thing is I wish it came in more colors, but that’s just me being picky.”
- Strong Conclusion (27-30 sec): “Overall, 10/10 would recommend if you’re looking for [key benefit].”
- Technical Notes: A classic “talking head” shot. Maintain eye contact with the lens. Use a shallow depth of field (Portrait mode) to blur the background and look professional.
Phase 3: Post-Production & Presentation
Editing Rules for Beginners:
- Keep it Tight: Edit ruthlessly. All samples should be 15-45 seconds.
- Use Text Overlays: Add key selling points as text (e.g., “Long-Lasting,” “Easy to Use”). This mimics how brands will use your content.
- Choose Neutral Music: Use upbeat, instrumental royalty-free tracks. Music should support, not dominate.
- Color Correction: Simply increase brightness and contrast slightly so the video looks vibrant on a small screen.
Building Your Portfolio Page:
- Lead with Your Best: Put your strongest video first.
- Write Clear Descriptions: For each video, note the product, concept, and your role (e.g., “Authentic testimonial video created for portfolio purposes”).
- State Your Niche: In your bio, say “UGC Creator for Beauty & Wellness Brands” or “Tech Product Reviewer.”
- Professional Profile Photo: Use a clear, friendly headshot.
Pro Tip: Creating “Spec Ads”
Take your best sample and edit it into a 15-second mock-ad. Add a bold headline, a brand logo placeholder (“Your Brand Here”), and a call-to-action button (“Shop Now”). This demonstrates you think like a marketer and understand the final use case, setting you miles ahead of other beginners.
Your Next Step: From Portfolio to Paid Project
Your portfolio is now a lead generation tool. The final step is to put it in front of decision-makers. A specialized platform is the most efficient way to do this.
👉 Ready to launch? Upload your new portfolio directly to your UGC.Click profile. Our marketplace is built to connect your authentic work with brands actively searching for talent. Complete your profile, tag your niches, and start applying to real briefs today. Your first paid collaboration is closer than you think.